Showing posts with label shells. Show all posts

Tuesday, February 28, 2012

Texture Challenge = Inspired Art

A true sign of a creative talent is someone who is willing to share their gift with the world. This is truly the experience I found today signing up for Kim Klassen’s Texture Tuesday list. There are some simple guidelines for receiving and using the free downloads, all of which are very easy to follow.  And did I mention the challenge that corresponds with the texture? Today’s challenge lead me to a fun mini still shoot, that I refer to as White Hot Shells. I plan to share more of these series of photos as I work on them, but I want to encourage everyone to check out Kim Klassen’s Cafe website and blog.

If you are a photographer wanting to experiment with combining textures and your images, you will feel like you found the pot of gold in the selection of gorgeous textures available on her site for purchase. And for those just dabbling, you can try out some of her freebie downloads...all are stunning! I purchased the Bens collection and the group of rectangle textures to get started. For my photo art project I combined a few of these textures, plaster & teddy, with one of her freebies, called Simplicity. Each of which I applied different layer styles, opacities and some masks. See what you think of my first photo art creation...
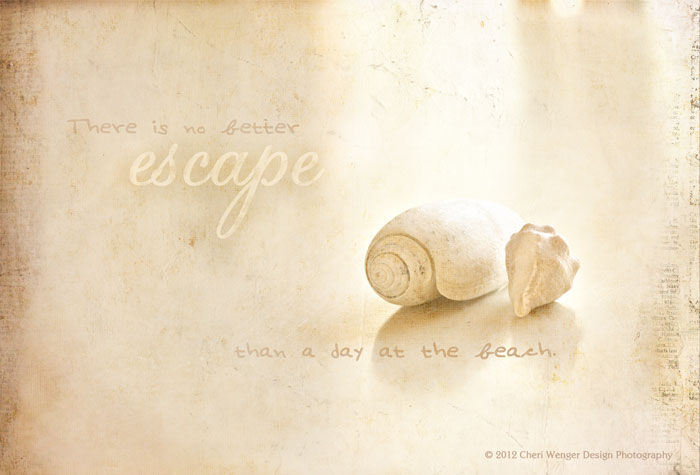

Be sure and leave me a comment to let me know what you think!

Here is what the original image looks like:


Here are some of the textures I used on this image. You can see the texture collections here.

simplicity


plaster

teddy

I challenge you today to step outside of your creative box and try 
something new like I did. You may be pleasantly surprised with the results!

Friday, August 13, 2010

Hot New Releases of Cheri Wenger’s Digital Designs


If you have ever wallked the beach and picked up shells along the way, this set will bring back fond memories. It includes a bonus set of png files with white shell backgrounds for making your own shell collages or groupings. Use chalks and markers to color the digital printouts and create!


Flourishes are fun to use on any card or layout. These bold, flowy swirls work well by themselves or paired with the other images in this set. Add some floral flair to your next creative project with my Garden Swirls set.


This set evolved from another set with a wedding theme in mind. These delicate flourishes add a touch of class to any project you choose to use them on. The images are all provided in large 6" size and can be scaled as shown.

Friday, July 16, 2010

Beachy Grad Wishes

I know this post comes a bit late, but with my schedule lately, I haven't had much time to take photos of all my projects, format and upload. I am working on catching you up on some of my recent creations! Just wanted to share this graduation card/giftcard idea that I made for a friend who graduated recently. The concept can be used for any card & gift giving occasion.

outside view


full inside view (with gift card holder on left)


close up of gift card holder- showing gift card inside

You can size the gift card wrapper to whatever size you want to accommodate the store’s holder or you can take the gift card off the original holder and use temporary adhesive to attach it. Design note: I used up some left over scraps of patterned paper with some of my circle punches. The shells are from a retired SU set, which it still is one of my favorites. Today's challenge: Try making a card or scrapbook page using up a bunch of your old scraps!

Wednesday, January 20, 2010

From One Coast to Another

Today I head to Anaheim, California for the Craft and Hobby Association (CHA) Consumer Super Show and Retailer’s Show. I can't wait to see all the crafty goodness. I will be participating in the PJ Party Live hosted by Tiffany Windsor on Friday evening. See my earlier post with a sneak peek of the winter hat project we will be doing. I will be at the Oh My Crafts booth helping with make-n-takes earlier in the day as well as on Saturday. Then the retail show starts Sunday, where I will be working in the Glue Arts booth. Monday, I will get to walk the show and see what fun products will soon be released. Then, Tuesday I travel home to my family and pooch, whom I will be missing and sending loving until I return from one coast to another!

This card is one I created for my Father-in-Law’s birthday. Hope it inspires ideas for a masculine birthday card. I wanted to send him some warm Birthday wishes in the month of December. I promise to post some more projects when I return.

Wednesday, December 10, 2008

Day 15 - The Shellebrating Continues


Let the Holiday Shellebrations continue! Again, I have used the same basic layout, but have changed out some colors and the basic embellishments to make these two Christmas cards. The main cardstock is Taken with Teal from Stampin’ Up!®. I used markers and blender pens to colorize the bucket of shells from the Shellebrate stamp set. To add some sparkle, I dotted 2-way glue over top of the colored stamping and sprinkled with Dazzling Diamonds glitter to add shimmer to both the Buckets of Shellebrations & Beachy Shimmer card.

Tuesday, December 9, 2008

Day 16- Time to Shellabrate the Season!


Living in a coastal climate, I always love creative ways to make Christmas cards that fit that bring a touch of Florida into the design. In these two card examples that I demonstrated at my November Stampin’ Up!® workshop, I 
used the Sanded background stamp with a shell stamp from the Seaside set to create this simple and elegant card. The verse is appropriately from the Shellebrate stamp set which I used for the Surfin’ Snowman pull-up card. Tomorrow I will post another set of cards made with that cute set.

To recreate this:  Cut a piece of Naturals Ivory CS to 3-3/4" x 5". Stamp shell in versamark ink and use Gold Stampin’ emboss powder & heat tool to emboss the shell image. Ink Sanded background stamp with Versamark pad and colorize using chalk Stampin’ pastels in natural tones of mustard, cocoa, chocolate, carmel, moss and rust, or add others you like! The sponge daubers work great for this! Punch 1/16" hole in top right corner and insert mini gold brad. Mount layer onto More Mustard Cardstock. Tie chocolate chip taffeta ribbon around front panel and trim points. On a small scrap of chocolate chip cardstock, emboss verse in gold, tear bottom edge, drag over versamark pad and emboss edging in gold for a gilded effect. Bend top left corner down. Mount onto card front. Note: In the second card sample, I added some more colored pastels to the background, made a bow with ribbon, added embossing around edges of shell layer and adding more tearing to the verse. You can always use the same basic concept, change out ink colors, papers, ribbons, backgrounds to get a variety of looks, not only on this example, but on any project. Tip: The reason I embossed the shell first in gold was to avoid the gold embossing powder sticking to the versamark ink used with the pastels. So whenever you want to add embossing to a chalked background or stamped card, you have to plan to do the embossing first, unless you don't mind having some touches of embosssing in your background.

If you want to see the Stampin' Up! sets that will be retiring, click here to view. Order by Dec. 23rd and receive 10% off plus FREE shipping!!! You can order these directly from my website. They will no longer be available after Jan. 18th.