Showing posts with label beach. Show all posts

Thursday, June 25, 2015

Some people view art; others live it.

“Some people view art; others live it.” - Cheri Wenger

For you creative types out there, you get this statement totally. Art is not just something we look at or create, our whole life is a continual process of appreciating beauty, collecting inspiration and translating that into everyday experiences and art. So it is with great joy and excitement that I can say that after a two year interruption (divorce and other life events just happen), I feel like I can return to the "art" of it all...my passion and my creative self. 

Life sometimes takes us on detours, some of which I have yet to even encounter, but I refuse to allow it to take from me the one thing that gives breath to my life. I create. I need to share it so others can enjoy it, too. Don't get me wrong, I never stopped creating, my enthusiasm and passion dim were merely dimmed. Through the process, I learned a very valuable fact — never let another person dim that light, and make you question your talents.

So here is my welcome back to blogging...I am beyond excited to 


...once again.


Art 
Portraiture

Most of you know that my creative roots started way back in kindergarten with my love for drawing and painting, which later evolved into a career in graphic design. After an introduction into digital photography and much encouragement from friends, my passion and interest for photography grew. So why not offer customers a more unique product combining the best of both worlds?

The image above was taken during a beach shoot, and the photo by itself is precious, but why not take it one step further to create a unique work of fine art portraiture? 

How did I do this?

This was created combining other photography images and textures on layers in photoshop with some design brushes to create an expanded background suitable for a large gallery wrap (canvas). 

My customer didn't have quite the wall space for this 16x20 version, so I reworked it in size to fit an 8x10 canvas board wrap which they chose instead. Below is a quick cell phone shot of the it.

Quick tip: Always work in a larger size than you think you might need cause you can always shrink but quality is effected when you try to enlarge.


The smaller finished canvas board wrap


Keep an eye on my blog for upcoming tips and even some tutorials on art portraiture and other DIY creations! I plan to share the chalk paint restored vanity that is now my new desk.


Monday, August 19, 2013

Impromptu Sessions - Just Grab Your Camera and Shoot

During our recent vacation in the Florida Keys an unexpected photo opportunity arose when we stopped off at a cute little oceanside park just past the 5 mile bridge. My daughter’s boyfriend starting climbing a tree, and soon after, she followed. With camera in hand, I snapped some photos of them climbing, sitting and posing for a few couples shots. We had to work around the wind, but I have to share with you this tree shot that is just priceless of the two of them. Here is the sepia-toned image followed by the color version. There are a few others, but I love how her hair was flowing in this amidst the backdrop of the twisty branches.


And here is the color version (below)


If you choose to do a similar tree shoot. Compose your shots to work with the branches rather than fighting them. Below, the widespread branches acted as a support for James in the background, while the larger trunk made a great ledge for Kylie to be seated in the foreground. Another perk of shooting from this angle is that you also get the beauty of the blue sky peeking through the branches.


Seated and smiling, they look very happy and relaxed sitting in the tree. Be sure when shooting from below to utilize a zoom lens to enable you to get close to the couple, and be mindful of their clothing and positioning of their legs so the shots aren't overly revealing or awkward.

Also pay attention to how the light is falling to avoid harsh shadows or harsh patches of sunlight across faces. Unfortunately, I did not have my flash along with me to use a fill flash, however, I think we still managed to pull off some great images considering these were mid day shots, not the ideal time for lighting.


Getting a very natural portrait of a guy, especially a teen male, can be challenging since they aren't typically as into having their photos taken as girls their age. That is why I seized the moment to take some quick portraits of James, having fun and looking very relaxed.


On the ground, the wind proved to be a big challenge (part of the reason we started exploring other areas and shooting by the trees). I did manage to snap this solo beachside shot of Kylie by the tree post.


The lesson learned from this impromptu photo shoot is that when your subjects feel relaxed and in their element, it will show in the portrait session. With family, or even clients, you can stage and pre-plan portrait sessions, but sometimes you have to just throw caution to the wind and work with great opportunities as well as nature’s wonderful props. Forget that they may not have on the perfect outfits or makeup, and just roll with the real life experience. You may be surprised with some of the best, most natural portrait sessions yet! Happy Snappin'!

Thursday, July 12, 2012

Drowning in Pictures!


On Monday, I did a double photo session with our youngest daughter, Kylie, who is about to start her senior year. She is also a spokesmodel for my photography business, Cheri Wenger Design Photography so we did a DREAM session...twice the photos, twice the fun!

She and I are both not morning people so I wasn’t sure how waking at 6 am was gonna correlate into getting ANY good pictures, but I think you will agree that we did more than alright! She started off with a cute silky sundress to have a slightly more formal look with plans to change into shorts & a tee.


Living in Melbourne, FL provides awesome opportunities to shoot photos at the beach. We just couldn’t make the true sunrise at 5:30...no way, no how that would happen with either of us! We did some in the water, but she didn’t want to get too wet since we were just getting started. We played with bubbles. Note: it really helps to have an assistant for that shot so they can direct the bubbles while you snap away! We managed to get a photo or two, but I am gonna try that again, like planned, in her shorts and colorful t-shirt, which by the way, we never got to shoot. We'll save that for another more fun and playful photo session.

Hey, you don’t know what a success this really was. We didn’t have even one squabble AND despite sweating our tutus off, there were plenty of smiles and great shots. Now, we took a break at Starbucks for breakfast and some passionfruit lemonades to revive ourselves! Here are some of the shots taken by the Indian River along with a few from the beach session.  


You know, I have always said that I am an evening person and my daughter is just like me, in more ways than one! She comes alive in pictures and I just seem to have more creative ideas for shots, angles and lighting. No, this couldn't have anything to do with staying up late working on design stuff for my business! As you can see by all these photos, I am in picture and editing overload, but lovin' every minute of it! The handheld ponytail shots at sunset are my mommy faves, and hers too!


If you want to see the complete gallery of photos from the a.m. and sunset photo sessions, check out my  facebook page or go to my Cheri Wenger Design Photography website and you will see them as two of the featured galleries. Be sure to leave me a guest book message on my website and to hit the like button on my facebook page! Thanks.


Sunday, June 10, 2012

Manly Cards for Any Occasion

With Father’s Day just a week away, you may be looking for some inspiration for making some masculine handcrafted cards. From an easy breezy military themed sample to feeling the coastal breezes, here are some samples to get your creative juices flowing...

For this card I wanted to do something special for my husband who is a terrific dad so I built a scene from stamps and techniques. For this I used a wave and palm tree stamp. For the sun, I used a punched circle and a sponge to define the shape then used markers to color in the sun. The sky was created using pastels. See below for some tips on creating the white ocean edge and shoreline.

Coastal Paradise Card created for Father’s Day
(but is suitable for any occasion!)


I first tore a strip of card stock to create a deckled edge. When stamping the ocean, I stamped over top of the strip to create a more natural shoreline. Then I used the same strip and a blender marker to rub some of the ink over the deckled edge it and onto the card a slight space away from the bottom of the wave. This creates the white foam area. For the sand, I used a combination of colored markers and a to create the spattered look, I used my old Stampin' Up spitzer with brush markers for the ocean spray and to give the sand it's sandy texture. 

Note: I also used Ivory naturals Cardstock as my background which already has some texture to it.

Tip: to extend the surf on each side of the palm, stamp a tree onto scrap and cut out. Use this as a mask with some temporary adhesive when stamping the waves in the background.


I wanted a softer edge, so I used my corner rounder on the 4 corners.


To finish the card, cut strips of coordinating cardstock and arrange in assorted lengths for background. I grabbed a piece of soft raffia from my scrap pile to tie around the art before mounting on the card. Being a tropical state of mind, I wanted to create another card with this palm tree image. I will also share with you my technique for creating the multi colored watercolored foliage stamped in the background along with a tip for putting coffee filters to use in your cardmaking. Read below!

Palmy Breezes Card
(another Father’s Day creation suitable for any time of year)


Creating a watercolor effect with multi-colored foliage:
Turn your rubber stamp face up and color entire image with a very light color marker. Randomly color over top with 2 - 3 other darker shades. Be sure to "clean" your brush marker off by rubbing off any of the colors it may have picked up onto some scrap paper before storing it away! Use a spray bottle of water to mist over the stamp lightly before stamping onto background. This is what gives it that watercolor, washy look.

Coffee Filters aren’t just for coffee!
Take a coffe filter and mist it with colored spray mist. I used a walnut ink on mine. Crumble and fold it, then tear of a piece of it to incorporate on your card creation.

Golden Years Birthday Card
(could also be used for Father’s Day or any occasion)


Sometimes card creating dictates trying things outside of your comfort zone or working with colors outside of your normal favorites. I created this card thanks to the extreme generosity of my stamping friend Ree Nathan, a fabulous SU demonstrator, who shared with me some of the new patterned papers, etc. from Stampin’ Up!®. I was so excited to test out the pack of In Colors and markers she gave me the day we had lunch and stamped...can’t thank her enough! I used some of those new In Color markers on the Coastal Paradise card, too! I got to play with some of the frame dies and new patterns. I wouldn’t have picked this color combination ordinarily, however I do like the end result.

Now it’s your turn...


Let’s slow things down a bit and end with an easy to make card layout. For my starting point, I merely stamped this old military theme rubber stamp into the upper area of a piece of trimmed cardstock I grabbed out of my leftovers stash. I built the card from there coordinating another patterned piece of cardstock and some solids to go with it. To complete the look, I added a pennant, a vintage gold button with thread and a Father's day stamped verse. To give it an aged feel, I sponged and dragged ink over the edges.


Military Style Father’s Day Card
(simply change out the sentiment to use for other occasions!)


Easy, Peasy, right? The rest is up to you! Happy creating and an early happy Father’s Day to all the great dads out there!

Wednesday, June 29, 2011

Project 365 - Days 125 to 135 Creativity meets life

When you live your life creatively, it is hard to keep the artistic side out of normal life. Don’t get me wrong, I am no Martha Stewart handmaking cookies and creating decorated lunch bags (well, LOL maybe I am guilty of creating a few of those ;] ) however it is difficult not to bring that side of me into everything I do. This leads me to the first, kinda boring yet possibly inspiring project of the day...finishing painting our combined family room/kitchen. Let me back up a little.


Dilema: Our ceilings our 10 ft. high, all corners of the room are soft rounded edges that blend basically from room to room. So when I redid our living room area in a bright golden yellow to give it a tropical feel, I had to decide how to transition into the kitchen/family room area without the bright color overwhelming the room. I chose a toned down version of the yellow and followed all the rules before painting of observing the color chip at different times of the day.

Bigger Dilema: The one thing I didn’t factor in was my faux tropical green wall. I loved the solid paint color most of the day but hated how the green reflected on the yellow in one corner of the room at night time. So we have had a half painted space for more than a year. Today I decided to get over that one corner and paint the rest of the room to match!

I swear that I have creative dyslexia! I had to use some Kilz to touch up a few dark marks on the wall fist, as you will see in the photo below, however this lead to me spending most of the day moving from one room to the next touching up all the trim and smudge marks throughout the house. The downside of this creative inspiration is that I didn’t actually get to start painting this wall until about 9 pm and finished clean up around 1 am. Not to mention how many squats I did! For a girl who spends a lot of time sitting at the computer, I know that I will be feeling it tomorrow!

Warning: Painting is a full body workout. Proceed with caution!!!

Day 125 - Finishing the Painting of the Family Room & Kitchen Walls


The touch up...


Here is a photo taken of the area on Kylie’s Birthday. My dear husband had to finish painting over top of the cabinets since I am vertically challenged even standing on the countertops. He is 6'3"!


Day 126 - Sketches for my Beaverettes set/ Happy 16th Birthday, Kylie!
Sometimes in the design process there are customer requests for sets. This was one of those fun challenges...girly beavers going camping & swimming. These were some of the preliminary sketches.


And here is a picture of my birthday girl on the morning of her sweet 16th birthday...


Day 127 - Kai’s Sweet 16 Birthday Invitations plus a photo flashback of the new driver
Today we got up early to go to the DMV so Kylie could get her driver’s license on her 16th birthday...think she was a little anxious about becoming a new driver?!!! She passed! Couldn’t resist sharing this scanned photo flashback of her when she was little sitting in her Cozy Coupe.


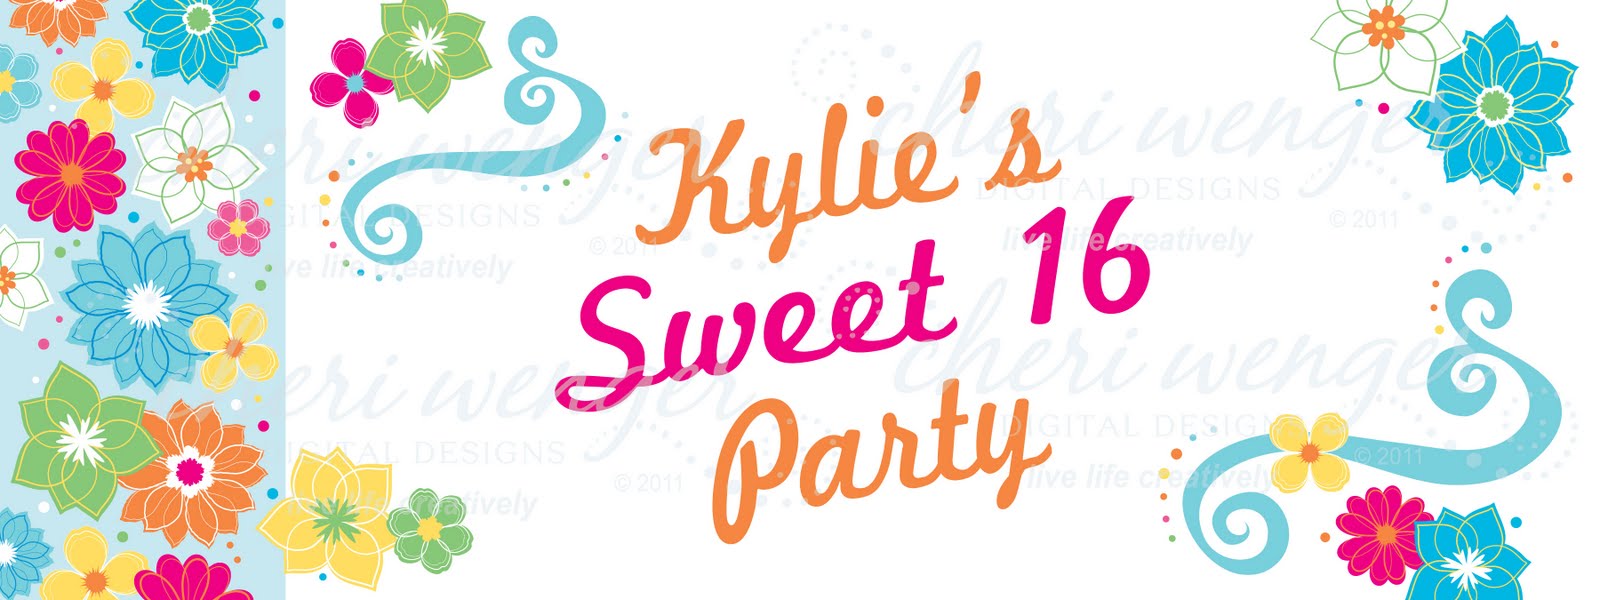
The rest of the day included designing her birthday invitation. I went to my own digi design collections to jumpstart the creativity...


Here is the invite with personal info changed up...

Day 128 - A Yard Sign for the Party


Had this printed onto coroplast to put outside our friend’s house by the beach. She has a huge backyard for us to do the huge slide. We did this 2 years ago for her sister’s 16th birthday and it was so much fun.

Day 129 - Now we need a banner!


So I am starting to like the look of these designs and I think I am on track to design a party pack set with maybe thank you notes added to the set...hmmm. You see how one moment of creativity snowballs into another. And so is goes when you live life creatively :D

Here is an actual photo of it from her giant slide, wet and wonderful, sweet 16 party!


Day 130 - Vivid Mod Linear Florals for future designs
These are the same flowers as the Fruity Florals collection with some colors changed up!
Let me know what you think of these colors and what you think I should create with them!


On the last day of my last project 365 update, you got a peek at some of the set elements. 
Here is the finished digital collection.


Day 132 - Shabby Chic Thanks


I haven’t had time to create many cards lately, but I got inspired by these paper and embossing scraps to make up this paper crafted card...no stamping involved on this one. I used Glue Arts’ U-cut-It adhesive foam to pop up the Thanks so much paper element for dimension. The gorgeous patterned papers are from The Girls Paperie. The verse and mini flower are from Studio 112 from JoAnn’s.

You saw the earlier sketches. Now you get to see how that evolved into a digi collection! Think of the fun you could have cardmaking or scrapbooking with this. You can layer and overlap the png files since the backgrounds are transparent, but the designs come with a white under layer, as shown below.


Day 134 - Best Friends Photo Shoot (The Seniors)
Our daughter, Ashley has the nicest group of close friends...the fab 5. All the parents have enjoyed watching them go to homecoming dances and prom together as well as enjoying many fun boating and beach days spent during summer break. Three are headed to the University of Florida while Ashley and Courtney will be roommates at Florida Atlantic University. We can’t wait until Labor Day weekend when the two schools face off in football. We are thinking we will make it a road trip to Gainesville so all the parents can reunite and the kids can have some fun taunting one another. We love the Gators, too, so it should be a fun time if we can score tickets to the game. 

These are some low res versions of a few of the favorite photos taken on a super windy day at the beach of Ashley with her soon-to-graduate best friends. (I am late posting these so they are all grads now!)


Monday, January 10, 2011

Project 365/Day 9 -A Photo Shoot and Gallery of Images


Sometimes you choose projects; sometimes they choose you! 
Sunday was one of those days where my daughter and her best friends gave me my assignment...
a request to take some candids of them goofing around at the beach. It was fun and creative.
We took almost 200 photos. I have them in an album on my facebook page. 
Along with some cool posed group photos, I also took some individual pictures of the girls.

Below is my favorite photo of my daughter Kai posing my the ocean.
When I shared it on my facebook page, a friend who lives in Hawaii informed 
me that my daughter’s nickname (Kai) in Hawaiian means ocean. How fitting!!! 
I will definitely be creating a scrapbook page from this one!


The start of another week of Project 365 creativity...woohoo!

Friday, August 13, 2010

Hot New Releases of Cheri Wenger’s Digital Designs


If you have ever wallked the beach and picked up shells along the way, this set will bring back fond memories. It includes a bonus set of png files with white shell backgrounds for making your own shell collages or groupings. Use chalks and markers to color the digital printouts and create!


Flourishes are fun to use on any card or layout. These bold, flowy swirls work well by themselves or paired with the other images in this set. Add some floral flair to your next creative project with my Garden Swirls set.


This set evolved from another set with a wedding theme in mind. These delicate flourishes add a touch of class to any project you choose to use them on. The images are all provided in large 6" size and can be scaled as shown.

Wednesday, May 12, 2010

Wind and Surf

This spring has been much windier than I recall since we moved six years ago. Yes, can you believe that...it seems just yesterday that we experienced that record amount of hurricanes that welcomed us in 2004. Usually by now the Wenger family should have a great jumpstart on our tans and frequented the beach more than a handful of times, but schedules and life has kept us far from the beach. We did get to go enjoy the beach on Mother’s Day. It was windy and the waves were crashing. It seems to be windier than usual and better waves than in years past. We are hoping to hae great fun up at Ron Jon’s with the surf board this year!

The weather conditions made me think of this birthday card I made recently. The surfer stamp is from Stampin’ Up! and the the cool flourish I picked up at Michaels before Christmas. I used Versamark ink and white embossing powder to create the deco wave on top of the cardstock and patterned paper layers along with my trusty Glue Glider™ Pro to assemble it!