You must check out Melissa’s blog. Why, you ask? Let me give you three good reasons:
1. Her awesome craftiness. You will know doubt be inspired by some of her amazing projects.
2. If you love ribbons, lace & projects with a vintage look, she will dazzle you with her beautiful handmade cards. She always makes the prettiest bows!
3. Her amazing blog giveaway! Just go to this blog link for more details & to check out her inspiring projects.
If you are a fan of Spellbinders, you will just love the giveaway! (hint, hint!) I know that I do!
Sign up to follow her blog and continually be inspired by her wonderful creations.

Showing posts with label stamping. Show all posts
Showing posts with label stamping. Show all posts
Wednesday, April 25, 2012


Tuesday, February 15, 2011
Project 365 Challenge/ Day 44 - Valentine Love Folio
At first when I spied these folios in Staples, I thought about making a jumbo size card to put
inside, but then I had a different plan in mind for my husband’s Valentine’s Day Gift.
I still have an IOU out on that gift so I can’t share right now what I planned to put inside,
but he is going to use it to store some assorted prints he has of the girls.

The collage at the bottom is made up of some of the things he loves...cycling (chipboard
from Crate Paper’s Restoration collection), Family (this stamp image and the love one
are from K&Company Que Sera, Sera clear stamps) and the beach (a retired shell stamp,
blender pens and markers from Stampin’ Up!® - also the embossed heart die used
on two hearts is from SU!). I decorated the folio further using border stickers,
CS matts and cut outs (like the pretty flower) from the beautiful papers in Crate
Paper’s Restorations collection. For adhesive, I used my Glue Glider Pro with
high tac adhesive along with some micro extreme adhesive squares for
the buttons and some U Cut It foam to raise up the white heart die cut.
A closer view of the bottom stamping, die cuts, etc.

Just think of ways that you can use this same folio concept to create great gifts for
other occasions. It would make a great teacher appreciation gift with cards or
drawings inside from the class or it also would make for a fun way of
presenting a gift certificate to a boss or co-worker!

My challenge to you today is to find an ordinary office supply
and turn it into something creative!
Live Life Creatively!
Saturday, January 22, 2011
Project 365/Day 21 - Cardmaking with Ree
Sometimes you are lucky enough to find a friend in life who makes you feel totally appreciated, who shares a passion for the same things you do and inspires you to be a better person. This is what I have found in my friend, Ree. She is a wonderfully sweet person (who is soon to be seen on Extreme Home Makeover in February) since she volunteered to help out with a home being built in the Central Florida area. She has more energy and enthusiasm about life and stamping, and has helped build my self esteem in always crediting me as her creative mentor. Whenever we get together for a day of stamping, I always leave with a smile. We share new tips and techniques we picked up between our play dates and catch up on family and friends...isn’t that the very best of living life creatively?!!! Here is a mishmash of some of what I created. We did more talking & eating than creating, but walked away energized and inspired to try new products and techniques.
I was very anxious to try out the Springtime Vintage DSP collection and pear pizzazz seam binding ribbon that was part of the goodies she gave me for Christmas. I typically am not drawn to old fashion style papers, but wow, was I inspired the more I worked with this. And the softness of the seam binding ribbon is awesome. I insisted that she teach me how she made these incredible paper flowers on a recent project she posted. And in her truly generous spirit, she dropped what she was doing to teach me how she made them. I am a bit disappointed that after mine flattened out on the ride home, I haven't been able to restore it to quite how good it looked when I was at her house, but you get the idea. And...it was made using the 5 petal flower punch, an idea she cased on the web. Pretty easy to do, and they looks so beautiful. Not great for mailing, but excellent for hand delivered cards and gifts! Check it out...


I swear that this pink and black background with the canvas textured stamping strip has been in my scrap pile for several years now. I finally snagged some other scrap elements to make it into a cheery card. Don’t you just love that lil' owl. He is in one of the stamp sets (Punch Bunch) that are available for free during Sale-a-bration with a $50 purchase. So if you are needing any SU supplies, now is the time to order. I no longer am a demo, but Ree can take care of that. She has a website for doing online orders.

So, I encourage you today to surround yourself with friends who inspire you creatively and it will enhance your experience and inspire you to live life creativley!
I was very anxious to try out the Springtime Vintage DSP collection and pear pizzazz seam binding ribbon that was part of the goodies she gave me for Christmas. I typically am not drawn to old fashion style papers, but wow, was I inspired the more I worked with this. And the softness of the seam binding ribbon is awesome. I insisted that she teach me how she made these incredible paper flowers on a recent project she posted. And in her truly generous spirit, she dropped what she was doing to teach me how she made them. I am a bit disappointed that after mine flattened out on the ride home, I haven't been able to restore it to quite how good it looked when I was at her house, but you get the idea. And...it was made using the 5 petal flower punch, an idea she cased on the web. Pretty easy to do, and they looks so beautiful. Not great for mailing, but excellent for hand delivered cards and gifts! Check it out...

I took some closer up photos too. It is assembled using a simple brad!
I hand cut some accent leaves from Wild Wasabi that was texturized with an embossing folder.
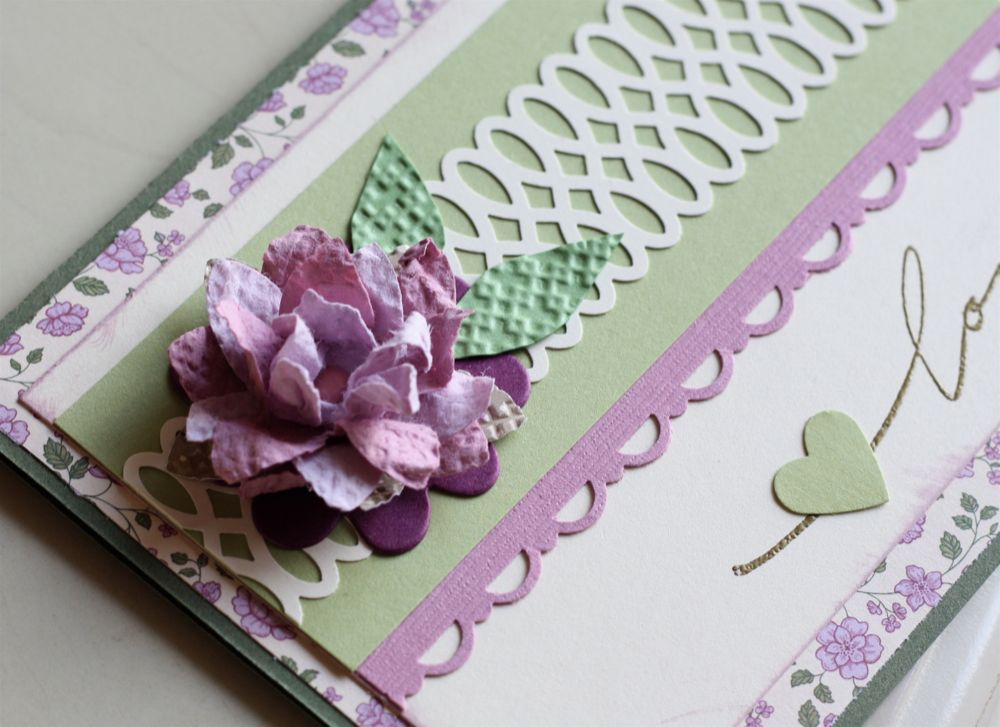

And here is Ree’s Beautiful Letterpress card that was my inspiration!

Here is the Vintage Love Ya Card I made at her house
using background paper from Springtime Vintage DSP from Stampin’ Up!®
and 3D stamped butterfly cut out from K&Co Que Sera Sera clear stamps.
This card features the pear pizzazz seam binding ribbon...can you say gorgeous!!!
Trust me you will love the feel of it and using it on your projects.

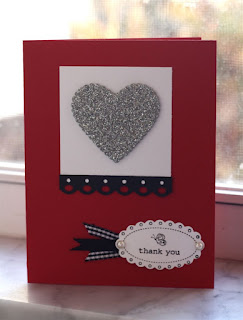
My daughter had to make a poster for a conference she was attending this weekend and we picked up some silver glittered adhesive foam for her to create the letters and graphics. She had some leftover scraps so I brought them along with me for Ree and I to play with. She ran some through the diecuts she had and I had fun using them on a couple cards. She really liked the color combination of red, black and white and silver. This could be used as a simple valentine, but I made it into a Thank You card.

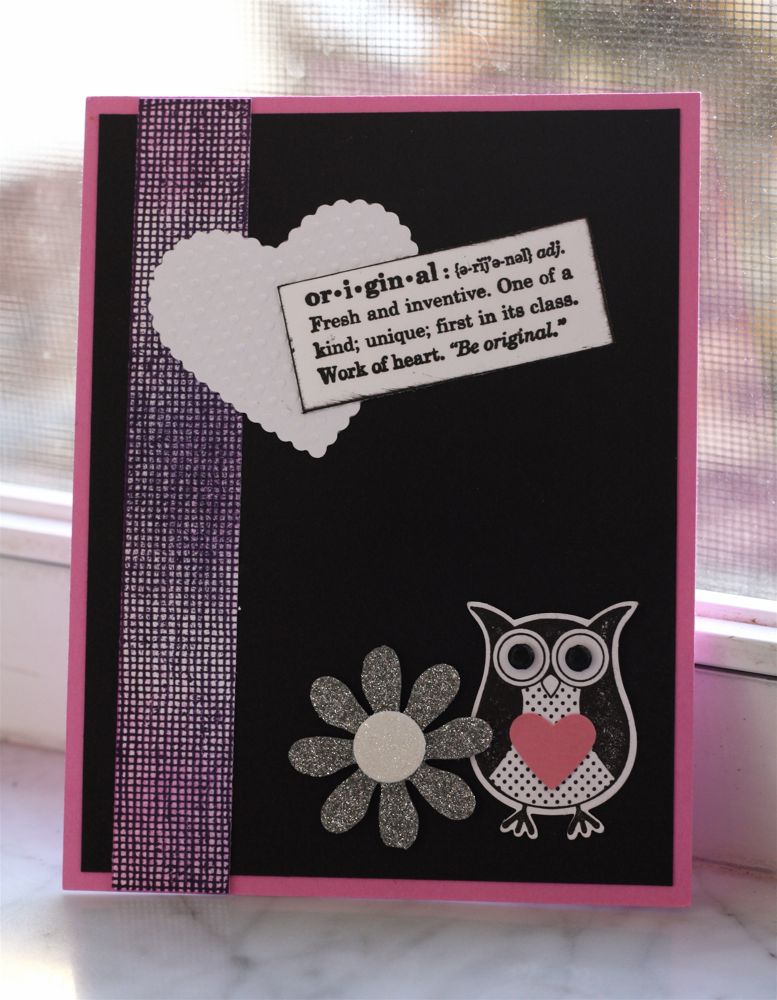
I swear that this pink and black background with the canvas textured stamping strip has been in my scrap pile for several years now. I finally snagged some other scrap elements to make it into a cheery card. Don’t you just love that lil' owl. He is in one of the stamp sets (Punch Bunch) that are available for free during Sale-a-bration with a $50 purchase. So if you are needing any SU supplies, now is the time to order. I no longer am a demo, but Ree can take care of that. She has a website for doing online orders.
So, I encourage you today to surround yourself with friends who inspire you creatively and it will enhance your experience and inspire you to live life creativley!
Thursday, January 20, 2011
Project 365/Day 17 - Craftiness from a Workshop
Check out these awesome projects designed by my Stampin’ Up! demonstrator friend, Ree Nathan. I got to enjoy my Sunday afternoon creating these wonderful projects with some super ladies. Even better, she and I are planning a follow up stamping date!


It is really a treat when I get to let someone else do all the thinking for me and all I have to do is assemble and add little touches of my creativity to a project. My note card variation came about when I punched the wrong side of the paper. I decided to try something different by adding a scrap of the red glitter paper behind the punched border. Why not, right? I had nothing to lose. Today's lesson: every project doesn't have to be perfect, and there are no mistakes — just opportunities for added creativity.
Sunday, January 9, 2011
Project 365/Day 8 - A Retirement Card

Supplies:
Natural Hemp
Metal Circle Paper Fastener
Stamps: © Stampin’ Up!®
Cardstock: School Days Numbers
Double Sided CS (TPC Studio)
Glue Glider™ Pro with high tac adhesive
Markers, Classic Inks, Stampin’ Sponge and
Blender Pens (Stampin’ Up!)
Brown CS Scrap for mat (Bo Bunny Olivia collection)
Blue CS (The Paper Co.)
Antique Mini Brads (Recollections)
Project 365/Day 7 - Sketches for New Digital Stamps

I love how in living life creatively, my projects include all the creative things I love to do — design, illustration, photography, stamping, paper crafts, etc. Day seven’s project was working on some sketches for new digital stamps. With Valentine’s approaching, I worked on some fun new hand lettered verses and images that I hope to soon add to my shop on mygrafico.com. This is a sneak preview!
Monday, November 22, 2010
I’m a Repeat All Star - what an honor!
I don’t really like to do horn tooting, but I am pretty excited to be honored for the second year in a row in the January 2011 All Star issue of Scrap & Stamp Arts magazine. This is a favorite magazine of many stampers and scrapbookers for its informative articles and wonderful card samples including instructions.

Here is a peek of a few of my featured project samples. The digital artwork used in these are from mine and Lindsay’s Stamp Stuff shops on MyGrafico.com.


You must pick up a copy and read my article on Stamping Hybridization. Hint: it discusses 5 ways to combine digital techniques with traditional stamping methods. The article will inspire you to take a leap into going a little bit digi!

Here is a peek of a few of my featured project samples. The digital artwork used in these are from mine and Lindsay’s Stamp Stuff shops on MyGrafico.com.


I will be posting later this week the tutorial on how to create a faux tattoo on a photograph, like the one on this photo greeting card, so be sure and check back!
Wednesday, May 5, 2010
Mother’s Day Stitchery


Yesterday I finished up on some Mother’s Day cards I made using my newest digi stamp set called “Sew” Long Flowers. I am providing a link to my sample album for this set and samples of the Mom Stitched Verse freebie that I told you about in yesterday’s post. If you click on the card photo you can read a description of what I used and how I created these. They are also in the photo gallery on MyGrafico so be sure to check them out and leave me comments. Hope you enjoyed the sneak peek. Be sure to check out the other samples! These cards, below, use the cute patterned papers from Cosmo Cricket’s Earth Love Mini Deck papers. I also posted some tips in my photo descriptions on using Glue Arts adhesives for attaching some of the 3-D elements.


Thursday, March 18, 2010
Preview of New Sets
Here is a quick peek at 3 of my new digital design products available for purchase at MyGraficO. The Elegant Frames has been a popular set for cardmaking, scrapbooking and for custom stationery. You can pair with the Elegant Verses sets to add text or create your own.
These are also great for elegant scrapbook page layouts! I also have a color version.

Another new design that has been well received is my Birthday Pals set with it’s whimsical characters. It comes with b&w art that you can color or edit on computer as well as the 12 bonus colorized designs you see featured. I have some great phrases that go along with these!


I know most of us are just about shaking off the cold winter weather, but Easter is right around the corner. Just think of the fun ways you could incorporate these Spring Chicks designs into your Easter creations! This set has pre-colorized designs that are ready to print and use, or you can use them in a photo editing program, such as Photoshop, to incorporate into digital or hybrid scrapbook pages. As I catch up on some sleep from my designing frenzy, I will be sure to post some examples here for inspiration!

Be sure to check the site and my blog for samples made with all my new releases, and I would love to see your creations in the gallery! Not sure how to use digital designs in your creations? Keep checking back to my blog for tips and examples of how you can, digitally, live life creatively!
Subscribe to:
Posts (Atom)